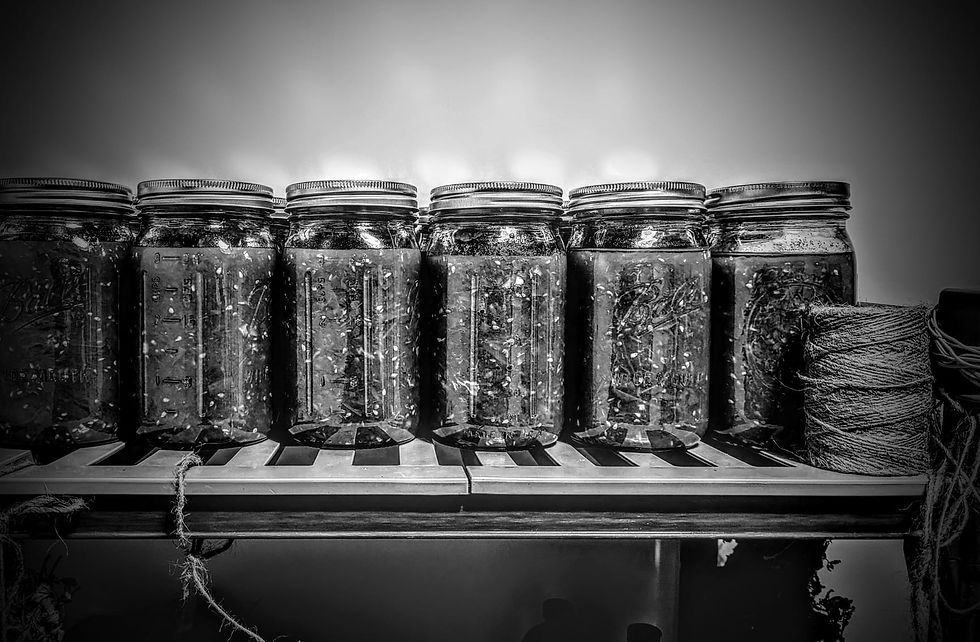
LACTO HOT SAUCE
- TRAVIS LIMOGE

- Dec 19, 2023
- 3 min read
a utilitarian ferment

This is a tried and true recipe, one of the first fermentation projects I ever attempted and outside a small bit of spill over from over filling vessels it has never failed. I like this recipe because you can leave it as long as you wish, once the microbes have gone to work you may see some kham yeast forming on top (which is harmless and can just be scraped away) but no harmful molds have ever formed in my batches covered with nothing more than a cotton kitchen towel.
A few points to get started…..
You may use any Chile you wish in this recipe, you can even blend several
The salt quantity I propose is strictly a suggestion, in fact I never measure salt any more, rather use my taste as a guide, as I have found over years over trial and error your environment will dictate your ferment, mess a few batches up, adjust for taste, pay attention to the life (microbes) you are nurturing, don’t be afraid to fail.
Please, if at all possible, use ceramic crocks with straight sides. Pressure builds in ferments and these vessels are designed to both introduce maximum air which aids in the fermentation and release maximum gas which is a by product of fermentation. In addition these ceramic crocks are sturdy and non toxic.
NEVER FERMENT IN PLASTIC. Regardless of whether or not its BPA free it still has the ability to create off flavors and odd reactions, if you cannot find ceramic stick with glass.
The first step in any successful ferment is choosing the right ingredients at the right time. Whether you grow the Chiles you wish to use yourself or buy them at a local market I highly suggest avoiding anything that has been in contact with chemical fertilizers, fungicides, insecticides, or transported in a method that would introduce pathogens that would be both detrimental to the ferment and to your health. If a product is grown organically in healthy soil it should be rich in both micronutrients and probiotics that will be wildly beneficial to your ferment and your health. This part is important because in my experience it is better to get your products fresh from soil or the farm and not wash them (wipe away any dirt that may remain with a dry rag) cut and process immediately rather than introduce any contaminant that may exist in your water. If you would like to wash your product do so in sterilized or highly filtered water.
My first batch of this hot sauce utilized Fresno Chiles. I was in California at the time and that was what was both abundant and expressed the flavor of place, I have used many types of Chiles since, always dependent on local availability, and I have yet to be disappointed. Today I am using Jalapenos as the farm I trust (Sandy Bottom Farm in Isle la Motte, VT) has an abundance and they are some of the best Jalapenos I have ever tried, both heat and flavor. Whatever you choose to use you can apply the same measurements and method for your first batch and tweak salt content as you see fit as you develop confidence in your ferment intuition.
Now on to the task at hand…..
Cut Stems from Chiles removing as little Flesh as possible.
Weigh Chiles with a calibrated Kitchen Scale.
Calculate 2% of your Chiles Weight and Weigh out in Salt.
Add Chiles and Salt to Food Processor or Hand Chop to Pesto Consistency
Place Chile Mixture in Ferment Vessel
Top w/ Cotton Kitchen Towel or Cheese Cloth & Secure w/ Rubber Band
Place Vessel in a Room Temperature Location to be Undisturbed
Stir Once Daily w/ Clean Spoon (First Three Days)
Allow to Ferment Minimum of Two Weeks
The finishing step of this project is based entirely on taste and texture. Scrape any kham yeast from the top of the ferment and transfer in batches to a blender pureeing on high until smooth with a vinegar of your choosing. I always use a sweet vinegar, apple cider is my favorite, I find it balances the sauce, and I usually introduced about a quarter, by volume, of the total ferment in vinegar. You can add more or less depending on your taste. I then transfer my hot sauce back into the same vessel to rest for a minimum of two weeks at room temperature. When you reach the stage of bottling you may have produced some more kham yeast, just scrape it away, add your sauce back to the blender for a final spin, and bottle in a glass vessel of your choosing for storage in your fridge.
This sauce will last in your fridge almost indefinitely, the acidity from the vinegar and fermentation in harmony make it very stable.
Enjoy, ask questions, and let me know how yours turns out…..


Comments